
Introduction
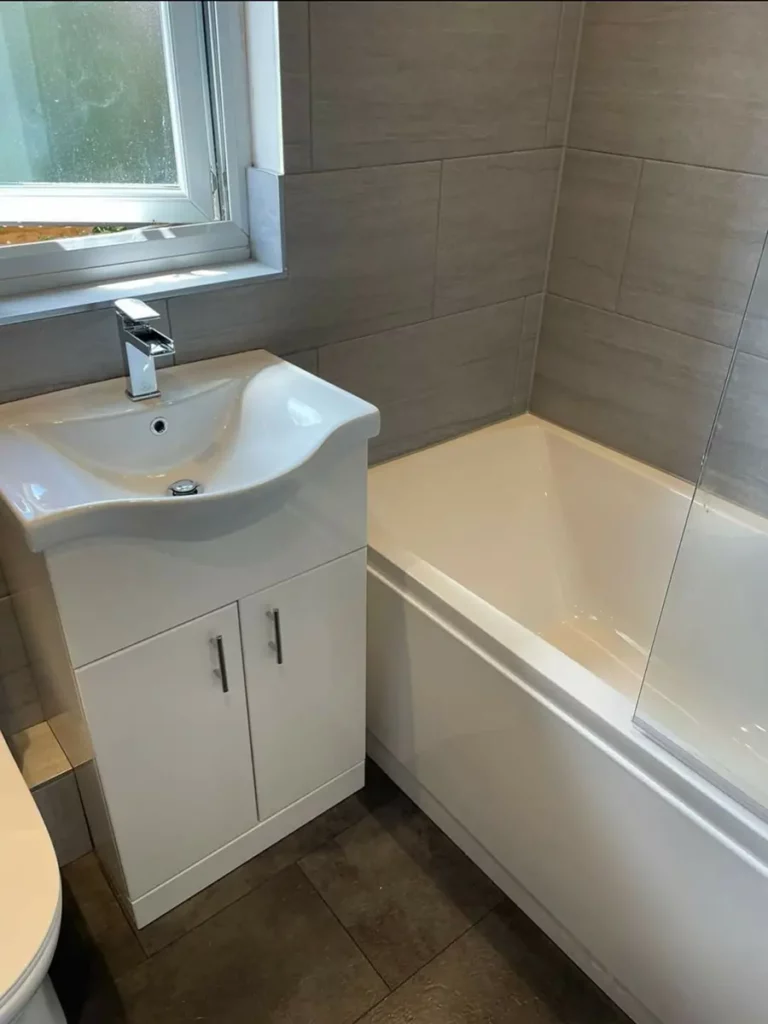
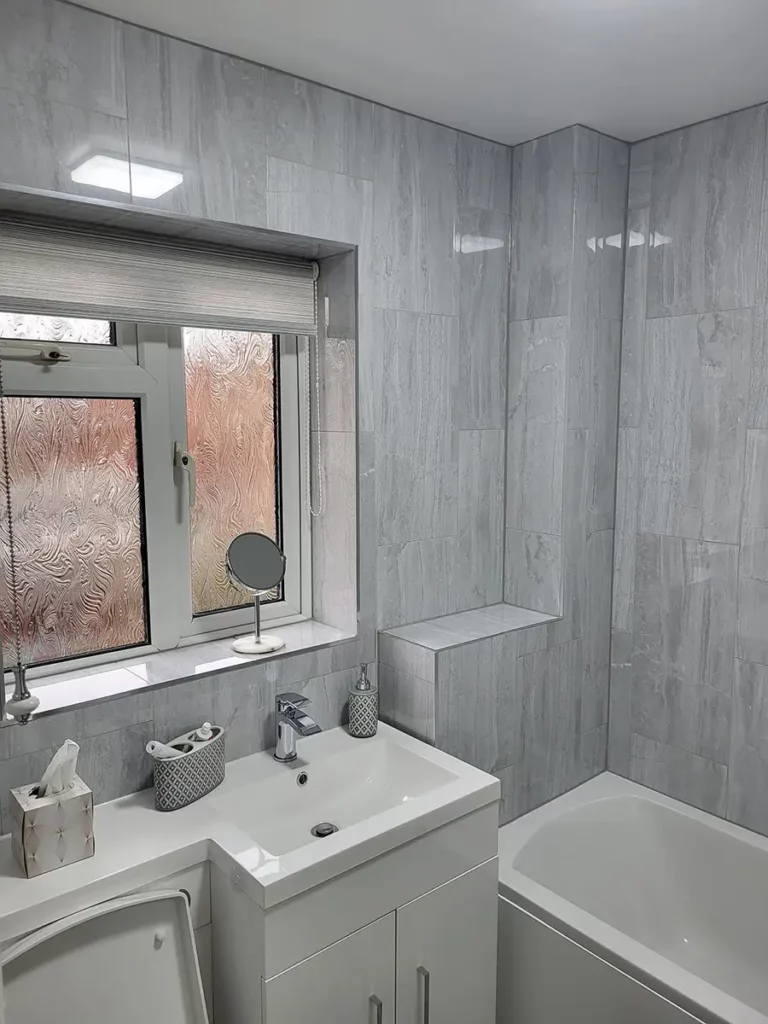
Bathroom Refurbishment: An Ultimate Guide to from Start to Finish here is something uniquely satisfying about walking into a bathroom that feels like a private sanctuary. It is the first room you visit in the morning and often the last place you retreat to at night. However, as homes age and styles evolve, even the most beloved bathrooms can start to look dated, feel cramped, or simply stop functioning as efficiently as they once did.
If you are reading this, you are likely considering a transformation. Whether you are looking to increase the value of your property, improve functionality, or simply create a space that reflects your modern taste, bathroom refurbishment is one of the most rewarding home improvement projects you can undertake.
But let’s be honest: it is also one of the most complex. Unlike painting a wall or replacing a light fixture, a full bathroom renovation involves plumbing, tiling, electrics, and structural changes. It requires careful planning, a significant investment, and the patience to see it through.
This comprehensive guide is designed to walk you through the entire process of bathroom refurbishment, from the initial spark of an idea to the moment you turn on the taps for the first time. Whether you are a DIY enthusiast planning to get your hands dirty or a homeowner looking to hire professionals, understanding the workflow is key to ensuring your project runs smoothly, stays on budget, and results in the beautiful space you dream of.
Phase 1: Planning and Design
Before you even pick up a tool or remove a single tile, the success of your bathroom refurbishment relies entirely on planning. This phase is where you define what you want, what you need, and what is possible.
1. Defining Your Goals and Budget
The first question you must ask yourself is: Why am I doing this?
- Are you renovating to sell? If so, you might want to stick to neutral colours and standard fixtures that appeal to the masses.
- Is this your forever home? Then you can afford to be more adventurous and invest in luxury features like heated floors or a rainfall shower.
Once you have your goal, set a realistic budget. It is a golden rule in construction to always add 10-15% contingency fund for unexpected costs. Old houses often hide surprises behind walls—rotting wood, outdated wiring, or poor insulation.
2. Measuring and Assessing the Space
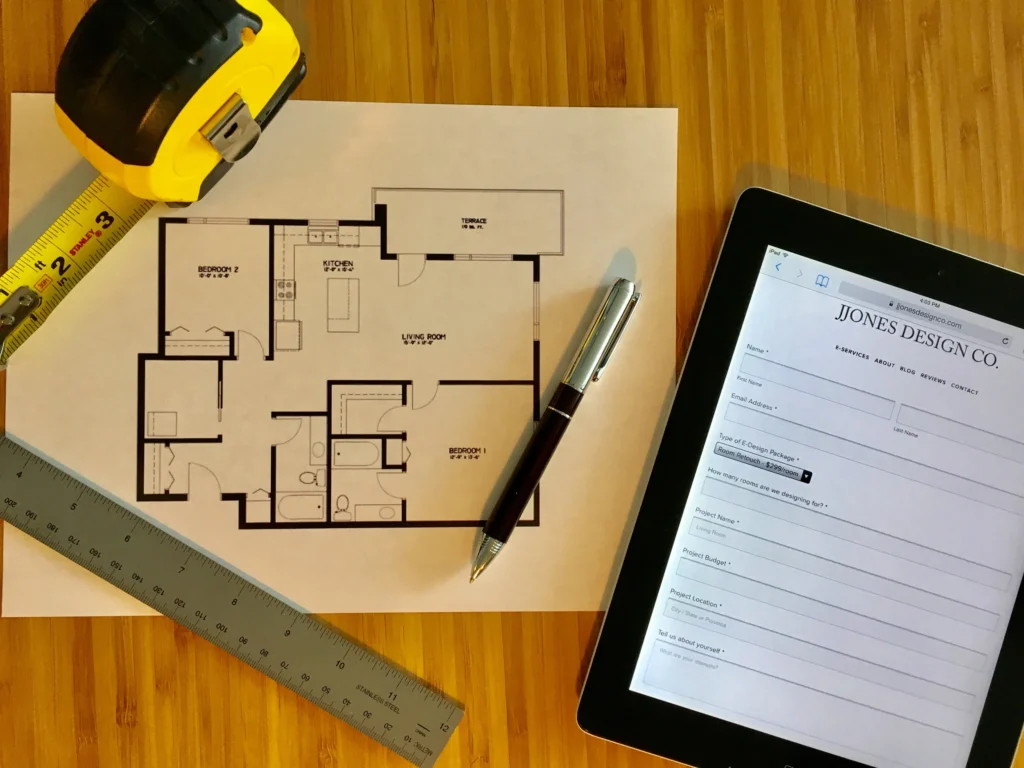
You cannot plan a renovation without knowing exactly what you are working with. Grab a tape measure and note down the exact dimensions of the room. Note the location of existing windows, doors, soil pipes, and vents. Moving plumbing and waste pipes is possible, but it is expensive and messy. Keeping fixtures in the same place is the easiest way to save money.
3. Creating the Layout
This is where the fun begins. Sketch out your ideal layout. Consider the “workflow” of the room. Do you want the toilet to be the first thing you see, or would you prefer it tucked away? Is there enough space for a bath and a separate shower, or do you need to combine them?
Think about storage. One of the biggest complaints people have about bathrooms is lack of space for towels, toiletries, and cleaning products. Your bathroom refurbishment is the perfect time to build in vanity units, shelving, or cupboards.
4. Choosing The Style and Materials For Your Bathroom Refurbishment
Now it’s time for mood boards. Are you going for a sleek, modern minimalist look with wall-hung toilets and large format tiles? Or perhaps a traditional, country-style feel with a freestanding roll-top bath and patterned flooring?
At this stage, you should also be selecting your materials:
- Tiles: Ceramic, porcelain, or natural stone. Consider slip resistance for floors and water absorption for walls.
- Sanitaryware: Toilets, basins, baths, and shower trays.
- Fittings: Taps, shower valves, handles, and towel rails.
- Furniture: Cabinets, mirrors, and lighting.
Pro Tip: Order your materials well in advance. Supply chain issues can delay projects by weeks. Having everything on site before you start ensures the workflow isn’t interrupted.
Phase 2: Preparation and Strip Out
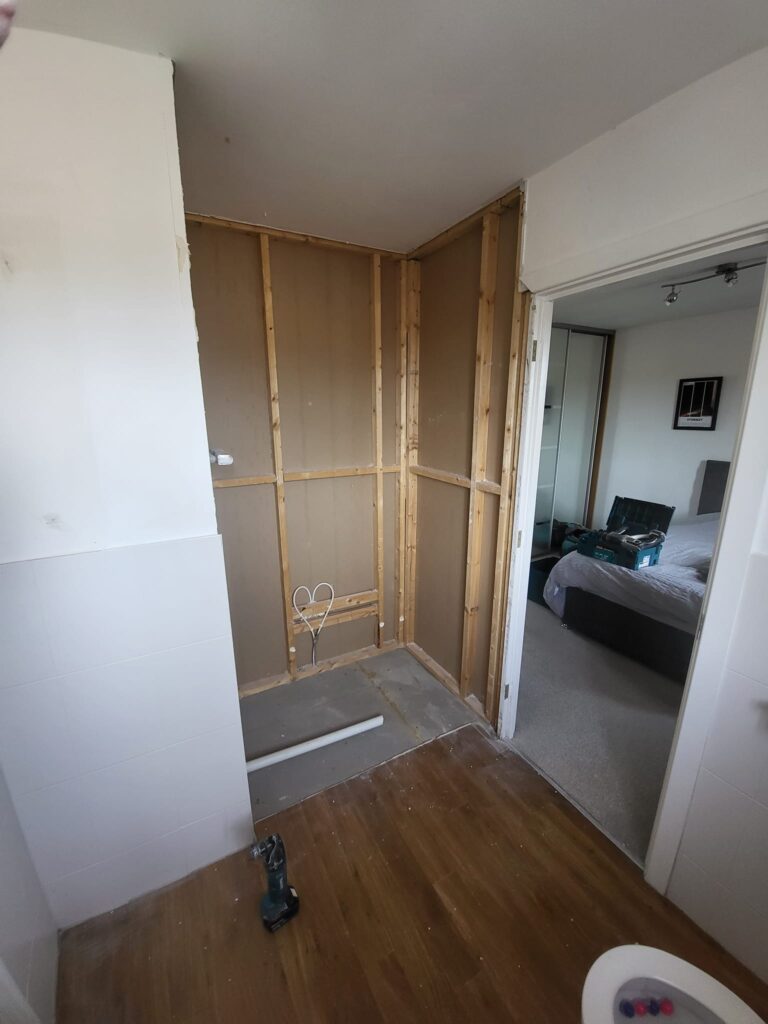
Once the plans are drawn, the money is budgeted, and the products are ordered, it is time to get to work. This phase is messy, dusty, and noisy, but it is necessary to create a blank canvas.
1. Protecting the Rest of the House
A bathroom refurbishment creates a lot of dust and debris. Before anything else, you need to protect your home.
- Seal off the door to the bathroom with plastic sheeting or dust sheets.
- Cover carpets and furniture in adjacent hallways or rooms.
- Turn off the water supply and electricity to the room at the mains.
2. Removing Old Fixtures and Fittings
The strip-out process usually follows this order:
- Sanitaryware: Remove the toilet, basin, and bath. Be careful when disconnecting pipes to avoid water damage.
- Accessories: Take down mirrors, cabinets, towel rails, and light fittings.
- Wall and Floor Coverings: Strip off old wallpaper or pull up vinyl flooring.
- Tiles and Cement: This is the hardest part. Chipping away old tiles and adhesive requires strength and patience. Wear goggles and a mask—tile dust is hazardous.
3. The “Big Reveal”
Once everything is stripped back to the brick and floorboards, you can truly assess the condition of the structure. This is where that contingency budget we mentioned earlier becomes vital. You might find:
- Damp patches indicating leaks or poor ventilation.
- Rotten floorboards that need replacing.
- Outdated wiring that isn’t safe or compliant with current regulations.
Addressing these issues now is crucial. You do not want to install beautiful new tiles over a damp wall, only to have them fall off a year later.
Phase 3: Structural Work and First Fix
Now that the room is bare, we move into the “First Fix” stage. This involves all the work that happens behind the scenes, before the walls are closed up and made good.
1. Plumbing and Heating
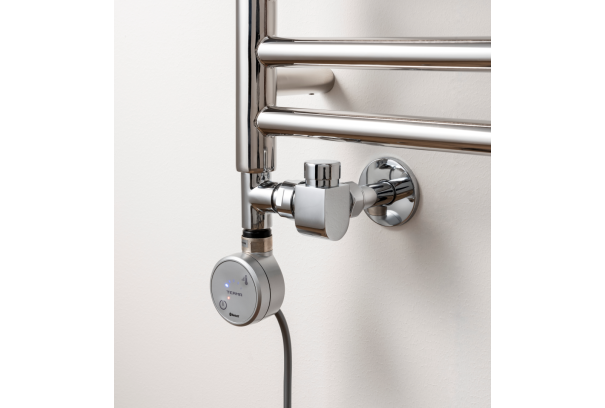
This is the stage where your plumber gets to work. They will:
- Install new water supply pipes (hot and cold).
- Install new waste pipes and connect to the soil stack.
- If you are moving fixtures, they will chase channels into the walls or floor to run the new pipework.
- Install the pipework for the towel rail or any underfloor heating systems.
Click here for your plumbing and heating material supplies
2. Electrics
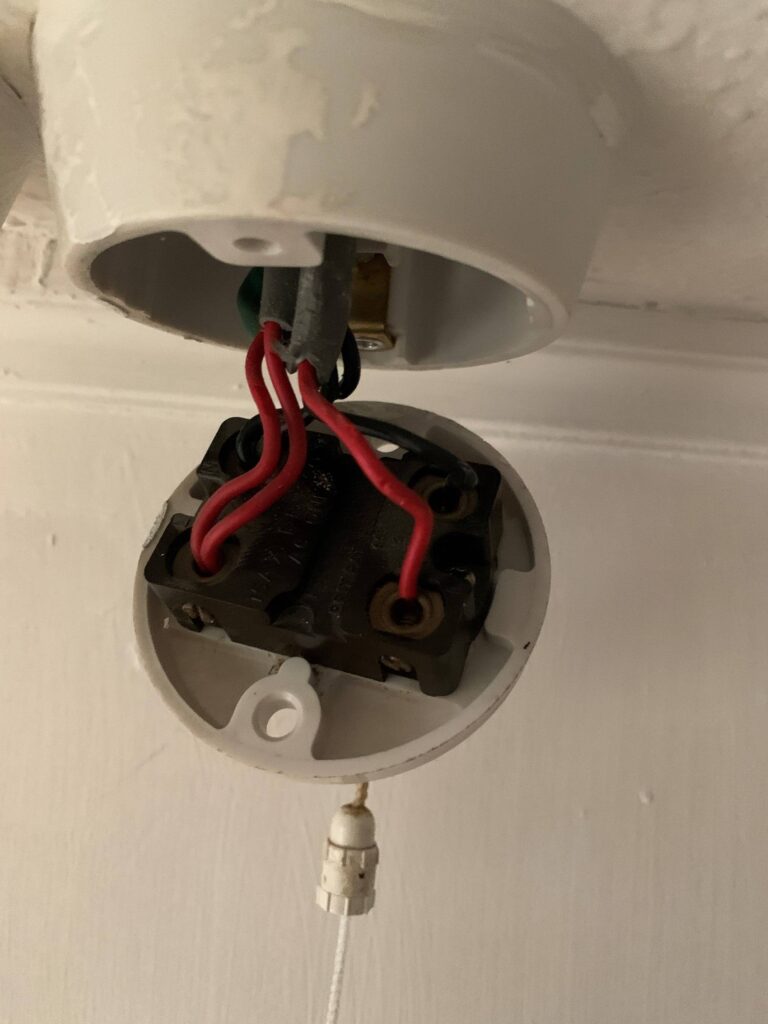
Bathrooms are classified as “special locations” when it comes to electrics due to the presence of water. Regulations are strict here.
- Wiring for lights, shaver sockets, extractor fans, and electric showers must be installed by a qualified electrician.
- Consider waterproof LED lighting and IP-rated (Ingress Protection) switches.
- Ensure there is adequate provision for any heated mirrors or demisting pads.
3. Carpentry and Structural Changes
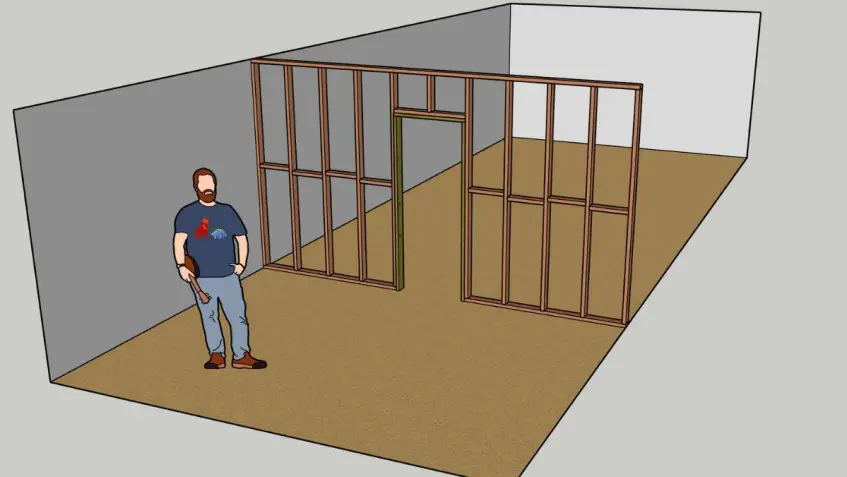
If you are knocking down a wall to make the room bigger, or building a new stud wall to hide pipes or create a partition, this happens now. You might also install new window sills or door linings at this point.
4. Plastering and Making Good
Once all the wires and pipes are in place, the walls need to be made smooth. The channels that were cut for pipes are filled, and the walls are usually re-plastered or “skimmed” to provide a perfect flat surface for tiling or painting. This stage requires drying time—do not rush this. If the plaster is wet, it will cause mould or tiles to detach later.
Phase 4: Waterproofing and Tiling
This is arguably the most critical part of any bathroom refurbishment. Water is the enemy of your home, and getting this wrong leads to disaster.
1. Tanking (Waterproofing)
Before a single tile is laid, the room must be waterproofed, known as tanking.
- A waterproof membrane or liquid waterproofing agent is applied to the walls and floors, particularly in wet areas like showers.
- This creates a seal that ensures if water gets behind the tiles, it doesn’t soak into the plaster or wood, causing rot or damp.
2. Floor Preparation
If you are laying a new floor, such as cement board or tile backing boards, they are fixed down now. The floor needs to be perfectly level. If it isn’t, your bath will wobble, and your grout will crack.
3. Wall Tiling
Tiling can begin once the tanking is dry. Most tilers work from the bottom up.
- Adhesive: The right glue must be used for the type of tile.
- Spacers: These ensure the gaps between tiles are consistent.
- Pattern: Whether you choose brick bond, herringbone, or straight lay, the pattern is established here.
4. Floor Tiling
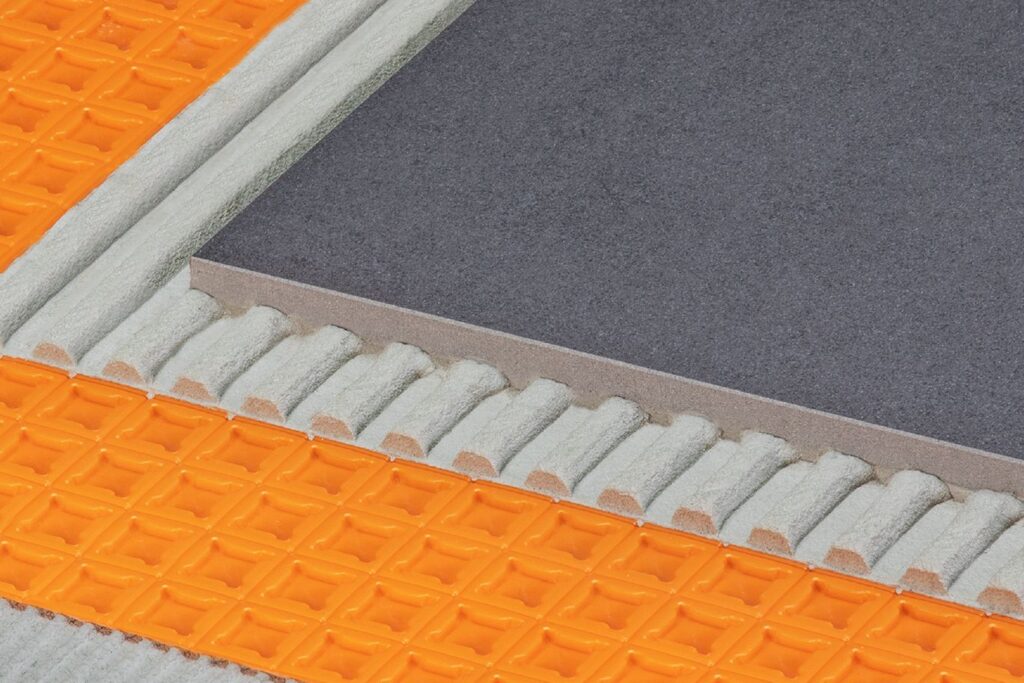
Floor tiles are usually laid next. Remember that floor tiles take more weight and abuse than wall tiles, so they need to be durable.
5. Grouting
Once the adhesive is set, the spacers are removed, and grout is applied. Grout fills the gaps and stops water from getting underneath.
- Choose a grout with anti-mould additives.
- Once wiped clean and polished, the tiles look complete.
Phase 5: Second Fix and Installation
Now the room starts to look like a bathroom again. The “Second Fix” is when we install everything that connects to the pipes and wires we hid earlier.
1. Ceiling and Painting
If you are painting the walls or ceiling, it is often done at this stage. It is much easier to paint around tiles than tile around paint splatters. Install the ceiling plasterboard and paint it.
2. Installing Sanitary ware
This is the exciting part!
- Bath or Shower Tray: Positioned and sealed securely. It must be perfectly level.
- Basin and Vanity Unit: Fixed to the wall or floor and connected to the water supply and waste.
- Toilet: The pan is installed and connected to the soil pipe.
3. Fitting Taps and Valves
The beautiful chrome or brass taps you chose are now fitted. The shower mixer valves and head are attached. Ensure everything is tightened correctly and tested for leaks.
4. Electrics and Lighting
The electrician returns to fit the light switches, light fittings, extractor fan, and any shaver sockets. Everything is tested to ensure it is safe and functional.
5. Towel Rails and Accessories
Towel rails are filled and connected to the heating system or electric supply. Finally, the small details are added: toilet roll holders, towel hooks, mirror cabinets, and shelving.
Phase 6: Finishing Touches to your renovation and Handover
You are almost there! The hard work is done, but the details make the difference.
1. Siliconing and Sealing
This is the “jewellery” of the job. Applying silicone sealant around the bath, shower tray, and basin creates a watertight and clean finish. It needs to be done in one smooth motion to look professional.
2. Deep Clean
A bathroom refurbishment creates a lot of dust. There will be splashes of paint, dust in cupboards, and residue on the glass. A thorough professional clean is required to make everything sparkle.
3. Final Testing
Everything gets turned on.
- Does the hot water come through quickly?
- Does the shower have good pressure?
- Does the toilet flush correctly?
- Do the lights dim or switch on as intended?
- Is the extractor fan working?
4. The Reveal of you’re Beautiful Bathroom Refurbishment
Remove the dust sheets, open the door, and step back. You now have a brand new space.
Common Mistakes to Avoid
Even with the best intentions, bathroom refurbishment projects can go wrong. Here are the pitfalls to watch out for:
- Poor Ventilation: If you don’t have a good fan or window, steam will condense and cause mould. Never skip ventilation.
- Choosing Style over Function: That beautiful patterned tile might look great, but is it slippery when wet? That wall-hung vanity looks amazing, but does it offer enough storage?
- Ignoring Lighting: A bathroom needs layers of light. Bright light for shaving or makeup, and softer ambient light for baths. Don’t just put one bulb in the ceiling.
- Buying Cheap Materials: You get what you pay for. Cheap taps drip, cheap grout goes black, and cheap boards warp. Invest in quality where it counts.
- Not Planning for Waste: Where does the water go? Ensuring the fall of pipes is correct so water drains away efficiently is a science, not an guesswork.
Hiring Professionals vs. DIY
Many homeowners wonder if they can tackle a bathroom refurbishment themselves.
- DIY: You can certainly do the stripping out, painting, and perhaps even tiling if you are competent. However…
- The Experts: Plumbing, electrics, and gas work (if you have a gas heater) must be done by certified professionals according to UK Building Regulations. Bad plumbing leads to leaks that can destroy your home and invalidate your insurance.
It is often better to act as the Project Manager, hiring trusted tradesmen, than to try and do the skilled work yourself unless you are very experienced.
Conclusion
Undertaking a bathroom refurbishment is a marathon, not a sprint. It will disrupt your daily routine for a few weeks, and there will be moments of stress and decision fatigue. But there is no feeling quite like seeing the transformation from a tired, outdated space into a modern, functional, and beautiful room.
By following this process—planning meticulously, preparing thoroughly, building soundly, and finishing with care—you ensure that your investment is protected for years to come. Whether you are creating a spa-like retreat or a practical family bathroom, the result will add value to your home and joy to your daily life.
So, take a deep breath, pick up that catalogue, and start planning your dream bathroom today. The journey is challenging, but the destination is worth every effort.
Contact M.B Property Solutions Essex For You’re Free No Obligation Quotation